


Your golf grip is the foundation of every shot you’ll ever hit.
Before swing plane. Before tempo. Before launch monitors and equipment upgrades.
If your grip is incorrect, you’ll constantly fight the club face. If it’s neutral and repeatable, your hands and wrists become efficient levers that allow the club to square naturally at impact.
In this guide, PGA coach Mark Sturgess (Kingsway Royston, near Cambridge) explains how to build a simple, reliable golf grip that beginner golfers can trust under pressure.
Why the Golf Grip Matters So Much
The way you hold the club directly influences:
Club face control
Ball flight direction
Wrist hinge
Strike quality
Shot consistency
Many beginners try to fix slices or hooks by changing their swing. But often the issue starts in the hands.
A neutral grip allows your wrists to hinge and release naturally. When the hands are positioned correctly, the wrists act as levers. When they’re poorly positioned, the wrists become restrictive and the club face struggles to return square.
If you’re slicing, hooking, topping shots or struggling with inconsistent contact, your grip is one of the first fundamentals to check, and if you are considering new equipment it’s always best to ensure the fundamentals are sounds first!
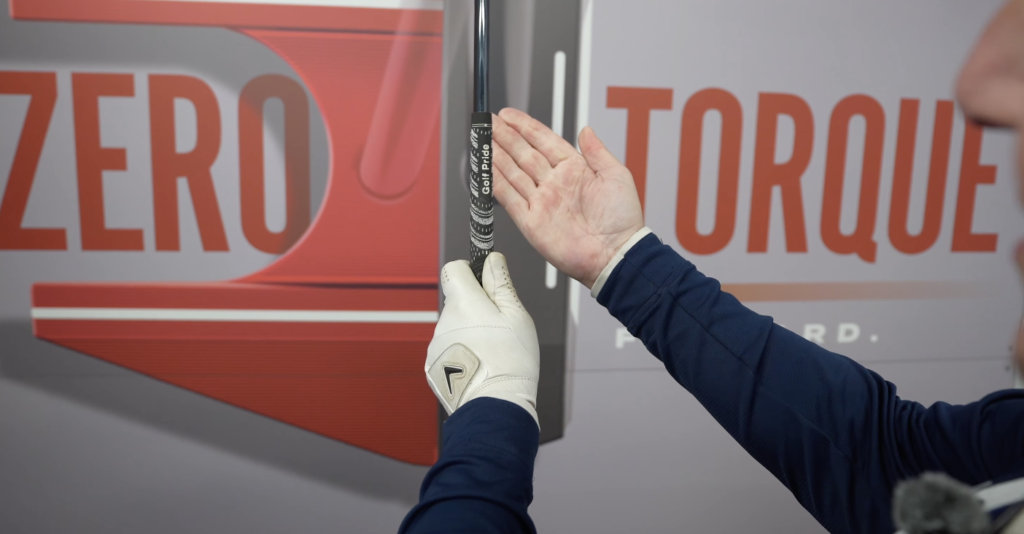
Step 1: Start with the Right Glove and Setup
Before we even position the hands, small details matter.
Choose a Glove That Fits Properly
Your glove should feel like a second skin.
It should be snug, with no loose material in the palm. Excess fabric reduces feel and creates friction points, often causing premature wear. A tight-fitting glove improves feedback and helps maintain consistent pressure.

Don’t Hold the Club at the Very End
Many beginners grip the club right at the end of the handle.
Instead, position the club about half an inch (roughly a finger’s width) in from the end.
Why?
Holding too far back can cause the heel pad and palm to rub excessively, reduces control leverage and can even affect strike consistency. That small adjustment creates better stability and feel.
Step 2: Left Hand Position – The Foundation of a Neutral Grip
For a right-handed golfer, the left hand sets the base position for the clubface.
Here’s how to get it right:
Place your left hand on top of the grip.
Keep it slightly short of the very end.
When you look down, you should see two knuckles on the back of your left hand.
Position your left thumb slightly to the right of center on the grip.
Seeing two knuckles is a key checkpoint.
If you see:
Only one knuckle → your grip may be too weak (face more open).
Three or more knuckles → your grip may be too strong (face more closed).
A neutral left-hand position makes it much easier to return the clubface square at impact.
Step 3: Right Hand Placement – Grip in the Fingers, Not the Palm
The right hand should complement the left, not overpower it.
Open your right hand and let the grip run diagonally across the fingers — from the base of the little finger up toward the tip of the forefinger.
The grip should sit in the fingers, not buried deep in the palm.
Then close the right hand gently over the left.
The “V” Checkpoint
When your right thumb and forefinger form a V shape, it should point toward your right shoulder.
This is one of the most reliable visual checkpoints in golf.
Combined with the two-knuckle check on the left hand, this creates a neutral, square clubface setup.
Overlap vs Interlock – Which Grip Should You Use?
This is one of the most common beginner questions.
There are two main grip styles:
Overlap Grip (Vardon Grip)
The little finger of the right hand rests on top of the gap between the left index and middle finger.
Interlock Grip
The little finger of the right hand interlocks with the left index finger.
Both are completely acceptable.
The choice is mostly personal preference and hand size dependent. The important thing is not which style you choose, it’s maintaining the neutral hand positions described above.
Grip Pressure: Firm But Relaxed
Grip pressure is often overlooked.
If you grip too tightly:
Wrist hinge becomes restricted
Tempo suffers
Tension travels into the arms and shoulders
If you grip too lightly:
You lose control
The club can twist at impact
Think of holding a tube of toothpaste without squeezing it out.
Firm enough for control. Relaxed enough to allow wrist movement.
Common Beginner Grip Mistakes (And How to Fix Them)
1. Holding the Club Too Much in the Palm
Problem: Limits wrist hinge and reduces lever efficiency.
Fix: Position the grip diagonally across the fingers.
2. Seeing Too Many or Too Few Knuckles
Problem: Clubface becomes excessively open or closed.
Fix: Adjust left-hand rotation until two knuckles are visible.
3. Thumbs Positioned Incorrectly
Problem: Left thumb centered or too far left can influence face control.
Fix: Position the left thumb slightly right of center.
4. Excessive Grip Pressure
Problem: Tension kills speed and rhythm.
Fix: Lighten pressure while maintaining control.
A Simple Pre-Shot Grip Routine
Consistency is everything.
Before every practice shot, run through this quick checklist:
Check glove fit.
Place left hand slightly short of the end.
Confirm two knuckles visible.
Position left thumb slightly right of center.
Place right hand across fingers.
Confirm V points to right shoulder.
Set grip pressure to firm but relaxed.
Repeat this routine until it becomes automatic.
Drills to Make Your Grip Automatic
1. One-Handed Half Swings
Hit half shots with only your left hand to reinforce finger placement and knuckle visibility.
Repeat with your right hand to check the V position.
2. Mirror Check Drill
Stand in front of a mirror at address.
Confirm:
Two knuckles visible.
V pointing to right shoulder.
Club slightly short of the end.
This visual reinforcement builds confidence quickly.
3. Grip Check Between Every Shot
During practice, reset your grip before every ball.
This builds habit under pressure.
Key Checkpoints to Remember
Glove fits like a second skin.
Club sits half an inch short of the end.
Two knuckles visible on left hand.
Grip sits in the fingers, not the palms.
V points toward right shoulder.
Pressure is firm but relaxed.
Why Beginners Should Prioritise Grip Before Swing Changes
Many golfers chase swing fixes when the real issue is grip. In fact, one of the biggest issues when starting as a beginner is how we hold the club so developing the perfect golf grip early can have huge benefits.
A neutral, repeatable grip:
Improves strike consistency
Helps square the club face
Reduces slices and hooks
Builds long-term reliability
It’s one of the fastest ways to improve ball striking without changing your swing mechanics.
Final Thoughts
A great golf grip doesn’t look dramatic.
It looks simple, neutral and repeatable.
Start every practice session by checking these fundamentals. Build the routine. Trust the checkpoints.
When your grip is correct, your wrists become natural levers and the club face becomes easier to control.
Get this right, and everything else in your swing becomes easier.
For more tips and drills click here!